RV water pump leaking (even on city water)
There is a puddle under the pump, a drip at the switch, or water only when you hook up to city water. Here is how to find the first drop and fix it, joint by joint.
 By Complete RV Guide team
Updated Oct 25, 2026
8 min read
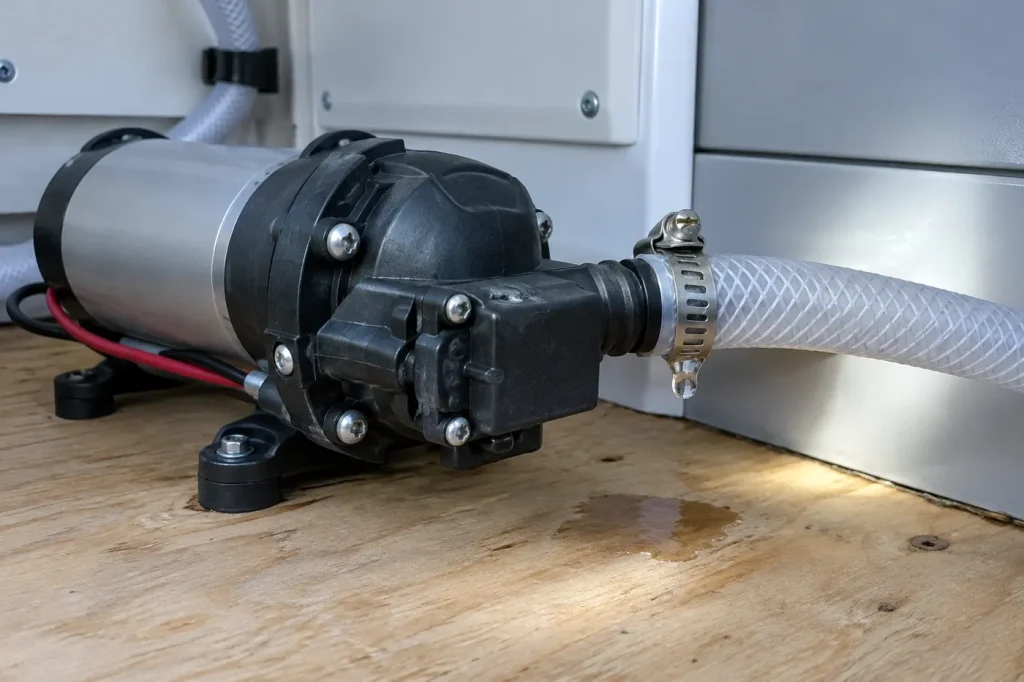
Quick answer
Most pump leaks are at the joints: a loose hose clamp, a strainer bowl, or a threaded fitting cracked by tape or overtightening. Dry the pump, run it, and find where the first drop forms. If it leaks only on city water, fit a pressure regulator and keep the pump switched off.
- Difficulty
- Easy
- Time
- 15-60 min
- Parts cost
- Often $0O-rings, clamps and a strainer bowl are cheap, a pump head kit varies by model
What you'll need
Tool links go to Amazon. As an Amazon Associate we earn from qualifying purchases, at no extra cost to you.
Common symptoms
- A puddle or damp floor under the pump.
- Drips from the pump head, the pressure switch, or the seam between the head and the motor.
- Water seeping from the strainer bowl or a hose fitting.
- Water inside the motor end of the pump.
- The pump only leaks when you are hooked up to city water.
- The fresh tank fills up or overflows by itself while you are on city water.
Quick checks before anything else
- Turn the pump off and open a faucet to release the pressure before you touch anything.
- Dry the pump and fittings with a towel so you can see where new water appears.
- Squeeze each hose clamp and fitting by hand to find any that are loose.
- Check the clear strainer bowl for cracks and make sure it is snug.
- Note whether the leak happens on the fresh tank, on city water, or both.
- Look over the pump for cracks if the RV has been through a freeze.
What causes an RV water pump to leak?
Most pump leaks come from the joints around the pump, not the pump itself. Road vibration, cold weather and overtightening do most of the damage.
- Loose clamps or fittings Drips at the hose ends that get worse when the pump runs.
- Cracked port or fitting Often from tape, sealer or too much force on a threaded port, or from a freeze.
- Strainer bowl or seal A seep around the clear bowl, or a cracked bowl.
- Loose head screws or a bad switch Water at the pressure switch or between the pump head halves.
- Punctured diaphragm Water shows up in the motor end of the pump.
- City water pressure Hookup pressure finds weak spots, or pushes water back through the pump into the tank.
Step-by-step: find and fix the leak
Leaks at the pump are easy to misread, because water runs along hoses and drips from the lowest point. Find where the first drop forms, then fix that spot. Always switch the pump off and open a faucet before you loosen a fitting.
- Find the first drop Dry everything. Close all faucets and switch the pump on so it builds pressure and stops. Then watch the inlet side, the outlet side, the pressure switch and the pump head seam with a flashlight. The outlet side holds pressure, so a loose joint there drips whenever the lines are full. The inlet side is different: the pump pulls on it while it runs, so a loose joint there may barely drip and suck in air instead. That shows up as sputtering faucets, which our guide to an RV water pump that runs with no water covers.
-
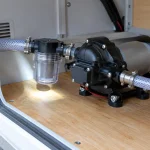
Check the strainer bowl Unscrew the clear bowl on the pump inlet, rinse the screen, and look at the bowl for hairline cracks. Wipe the sealing ring and its groove so no grit sits under it. Screw it back on hand tight. A cracked bowl needs replacing with the one made for your strainer.
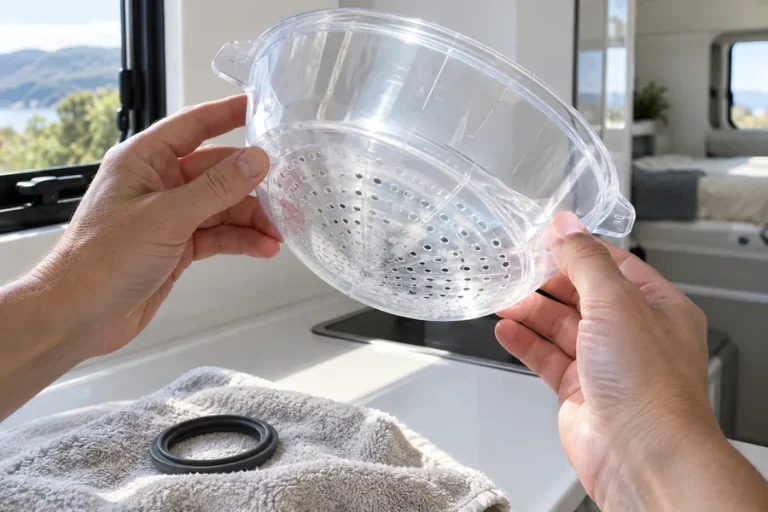
Check the bowl for cracks and wipe the seal -
Tighten the hose clamps Shurflo says road vibration can loosen plumbing, strainers and pump hardware, so check all of them. Snug each clamp. If a hose end is split or hard, cut it back to fresh hose or replace it.
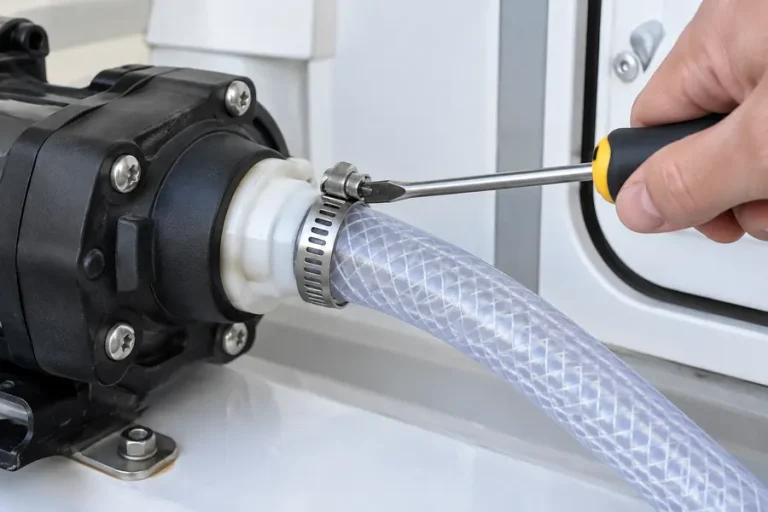
Snug each clamp; replace a split or hard hose end - Check the threaded fittings Shurflo’s 1/2 inch threaded ports are meant for its swivel barb fittings, which seal with an internal taper when hand tightened. Shurflo warns that sealers and Teflon tape act as a lubricant, which leads to cracked housings or stripped threads from overtightening, and sealer can get inside the pump. If a port has tape on it, take it off. If the port is cracked, the pump head has to be replaced.
- Check push-in fittings and O-rings Remco Aquajet and Flojet pumps use push-in ports. On a Remco, the fitting’s O-ring end goes into the port and a retainer slide locks it. On a Flojet, port clips hold it. A clip that is not fully seated or a nicked O-ring will weep. Remco’s fix for leaking fittings is to replace the O-rings or the fittings. Flojet sells port clips as a service kit.
- Swap rigid pipe for flexible hose Shurflo says the pump ports and strainer should not connect to plastic or rigid pipe, because the pump’s normal motion travels through it and can loosen or crack parts. It recommends at least 18 inches of 1/2 inch inside diameter flexible high-pressure hose on both ports, anchored where it meets the hard plumbing.
- Tighten the head and switch screws For leaks from the pump head or switch, Shurflo’s first check is loose screws at the switch or the pump head. Snug them evenly, without forcing them into the plastic. If the switch still leaks, Shurflo says its diaphragm may be ruptured or pinched, and the switch needs replacing.
- Look for water in the motor end Shurflo says water in the drive assembly means a punctured diaphragm. That is not a fitting you can tighten. Replace the pump head or drive assembly with the kit for your model, or the whole pump. On a Remco, call the factory first, as Remco advises for a perforated diaphragm.
- Check for freeze cracks Shurflo says water left to freeze can cause serious damage to the plumbing and pump, and that freeze damage voids the warranty. Look for split housings, cracked ports and a strainer bowl that has bulged. A cracked pump head means a new head or pump. Next fall, drain the pump and leave its plumbing disconnected as Shurflo and Remco describe.
- Test it on city water If it only leaks on city water, the hookup pressure is reaching the pump, which sits on the same lines as your faucets. Remco says never to put its pump under more than 90 psi. Fit a pressure regulator at the hose. Flojet sells regulators that bring pressure as high as 150 psi down to 45 psi. Keep the pump switched off on city water, then recheck the fittings.
Fresh tank filling up on city water? That is a leak back, not an outside leak. Shurflo says scale on the pump’s diaphragm and valves, from skipped sanitizing, lets water flow back through the pump. Sanitize the system as Shurflo’s manual describes. If the tank still fills, replace the valve assembly or pump head. The same worn valves often make the pump cycle with all taps closed, which our guide to an RV water pump that keeps running covers.
| Where the water is | Likely cause | What to do |
|---|---|---|
| Hose end or clamp | Loose clamp, worn hose | Tighten, or cut back or replace the hose |
| Threaded port | Tape, sealer or a cracked port | Remove tape, hand tighten; replace head if cracked |
| Push-in port | Clip not seated, worn O-ring | Seat the clip; replace O-ring or fitting |
| Pressure switch | Loose screws, failed switch diaphragm | Tighten screws; replace switch |
| Motor end | Punctured diaphragm | Replace pump head, drive assembly or pump |
| Only on city water | Hookup pressure too high | Add a pressure regulator; keep pump off |
Shurflo vs Remco vs Flojet: leak points differ
Shurflo 4008. Threaded 1/2 inch ports with hand-tight swivel barbs. The common leak points are a fitting with tape on it, a cracked port, the switch and the head screws. Shurflo lists separate kits for the upper housing, valve assembly, drive assembly, check valve and pressure switch, so you can often fix a leak without a whole new pump.
Remco Aquajet. Push-in ports with O-rings and retainer slides. Leaks usually come from an O-ring or fitting. Remco’s limit is 90 psi, and it asks you to call the factory about a perforated diaphragm.
Flojet R3426504A. Quick-connect ports held by clips, plus a replaceable check valve assembly. Flojet rates its maximum inlet pressure at 10 psi, so the inlet should only ever see water from the tank, not from a hose.
For how each pump works and its full specs, see our RV water pump problems guide.
When to call an RV tech
- Water has soaked into the floor or a wall around the pump, and the floor feels soft.
- The leak is in a line you cannot reach, not at the pump.
- Several fittings cracked in a freeze and the lines need repair.
- After a new head or pump, it still leaks only on city water even with a regulator fitted.
Not sure the pump is the source? Water near the bathroom may be the toilet instead, which our RV toilet leaking guide covers. You can also start from the symptom in the RV problem finder.
Common questions
My RV water pump is leaking. What should I do?
Switch the pump off, open a faucet to release pressure, and dry everything. Then run it and find where the first drop forms. Most leaks are a loose clamp, a strainer bowl or a fitting, which you can fix in minutes. Water in the motor end means a punctured diaphragm and a new pump head or pump.
Can you fix a leaking water pump without replacing it?
Often, yes. Clamps, fittings, O-rings, strainer bowls and pump head screws are all fixable. Shurflo also sells the pump head, valve assembly, drive assembly and pressure switch as kits. A cracked motor housing, or a pump that froze and cracked in several places, usually means a new pump.
Can you run an RV water pump while connected to city water?
There is no need. The hookup supplies the pressure, so leave the pump switched off. If the pump leaks only on city water, the hookup pressure is likely too high, so fit a pressure regulator at the hose.
Why does my RV fresh water tank overflow when I connect to city water?
City water is flowing backward through the pump into the tank. Shurflo says scale on the pump’s diaphragm and valves causes this leak back. Sanitize the system, and if it keeps happening, replace the pump’s valve assembly or head.
What can I use to seal a leaking water pump fitting?
On a Shurflo, nothing: its swivel barbs seal by hand tightening, and Shurflo warns that tape and sealer lead to cracked housings and can get inside the pump. On push-in fittings, replace the O-ring. If the plastic is cracked, no sealant will hold for long, so replace the part.